

The four default roles
Every Protect tenant ships with four built-in roles. These are visible at Settings → Roles marked as Default Roles (“These are roles provided by default in the ThreatAware platform. Default roles cannot be edited”).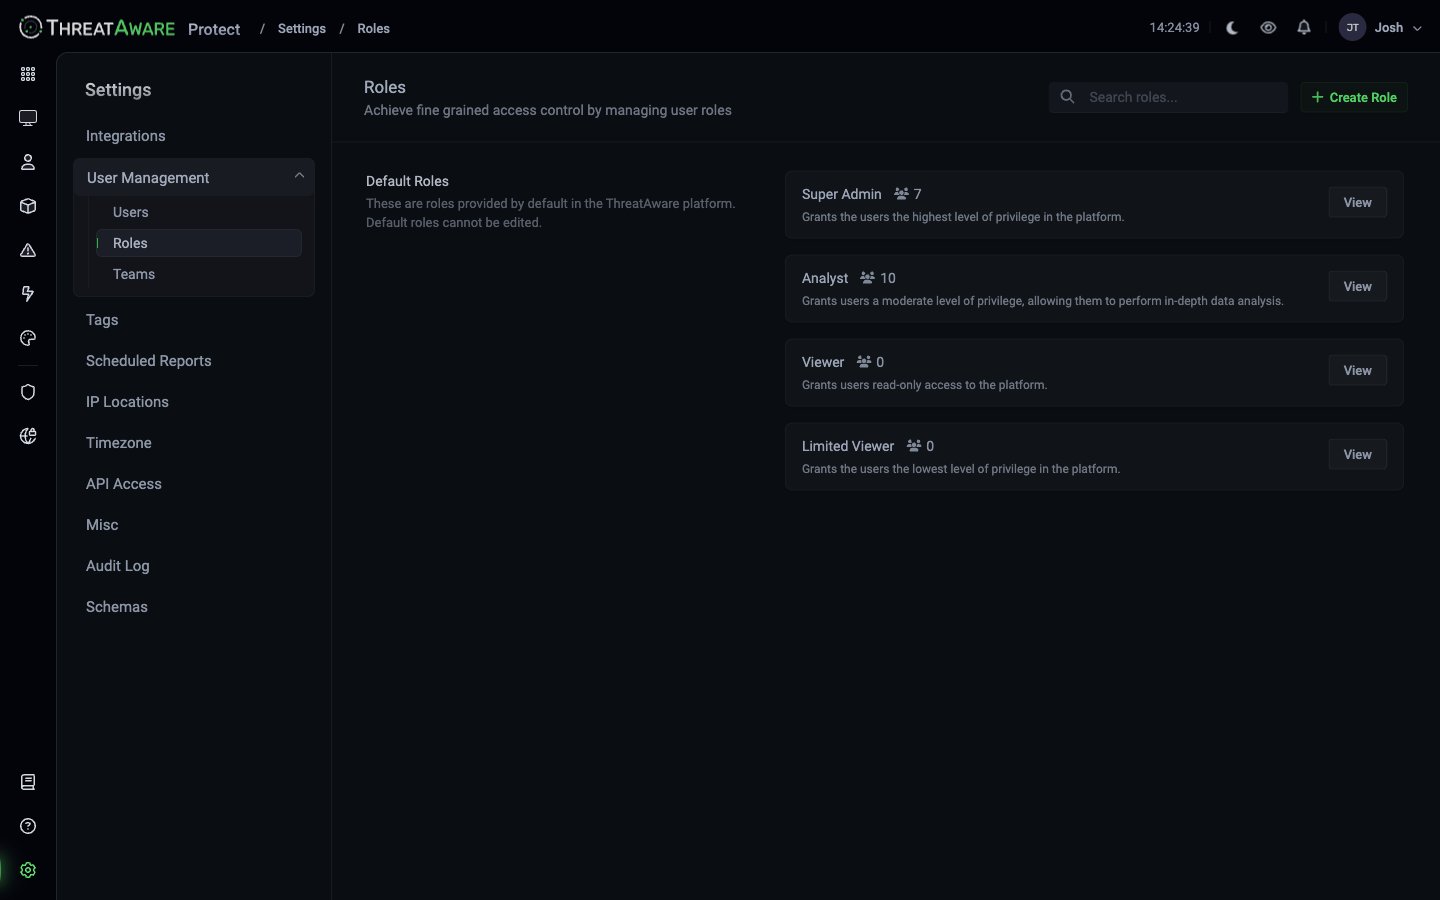
Default roles cannot be edited. To customise permissions, click + Create Role and define a new role from scratch.
Custom roles
The + Create Role flow at Settings → Roles lets you define a role with granular permissions across these axes:
Custom roles often map to organisational structure:
- “MSP Technician — Client Acme” — view devices only with
tags:Acme, no settings access - “Desktop Engineer — EMEA” — view EMEA devices, create Actions, no integration config
- “External Auditor” — view all device counts + compliance reports, no Personally Identifiable Information (PII) fields, no exports for 60 days
Teams
Settings → Teams defines logical groups for collaboration and sharing.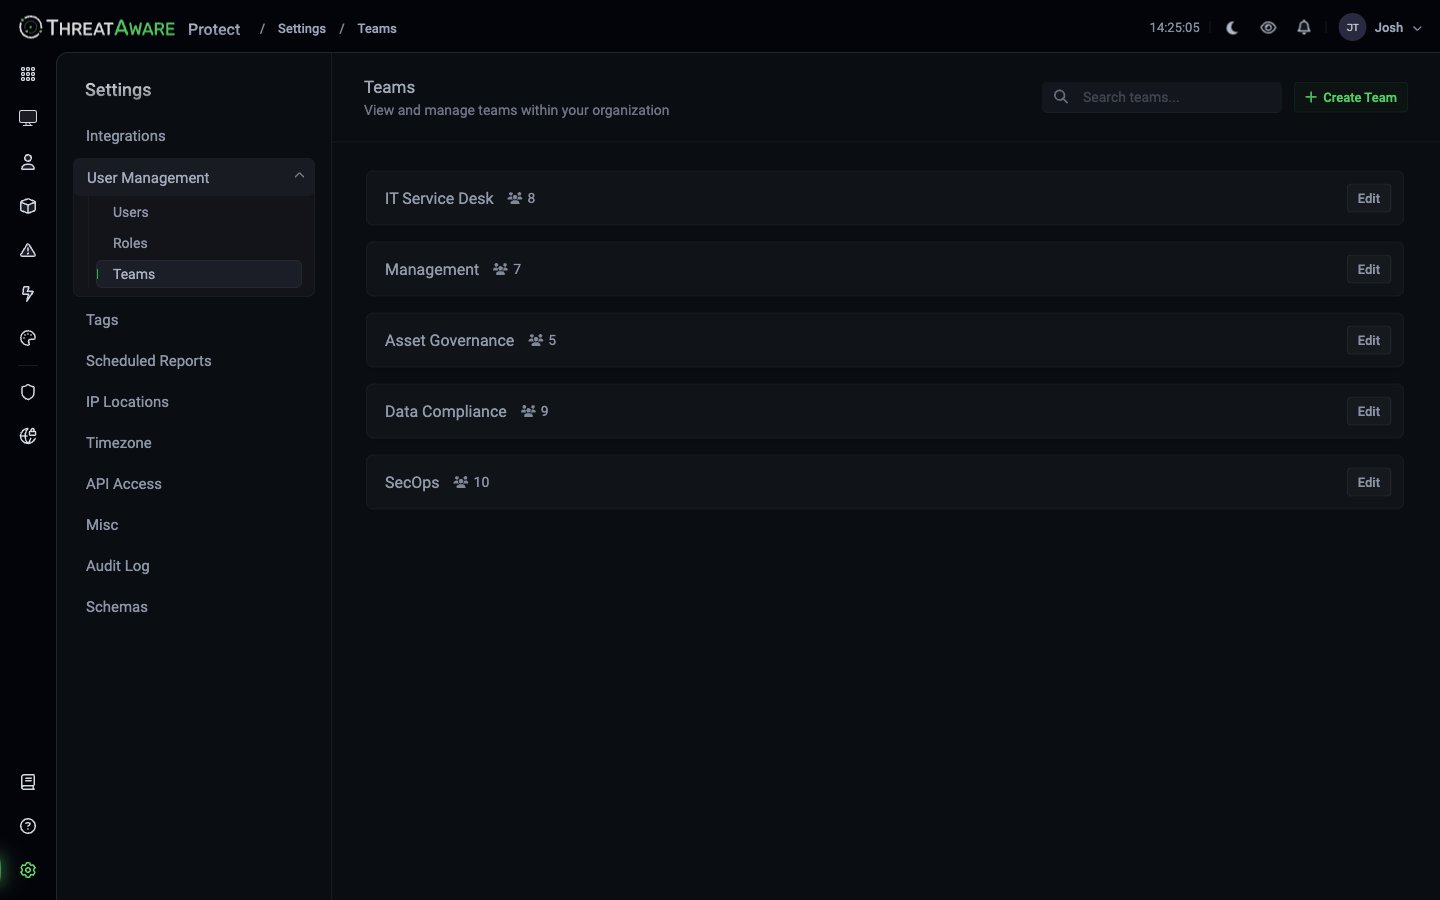
What Teams enable
- Saved view sharing: when you save a view, “Team” visibility lets you pick one or more teams
- Action ownership: Actions can be assigned to a team rather than an individual
- Studio app sharing: apps published to a team are visible only to that team
- Notifications routing: alerts route to the team’s nominated channel
SSO
Protect supports SSO via:Entra ID setup
1
Open Single Sign-On settings
[Settings → Single Sign-On] (from the gear icon path).
2
Authorize setup application
Click Enable Single Sign-On. A dialog appears; click Authorize. You’re redirected to Microsoft, sign in as Global Admin, consent.
3
Wait 30 seconds
Critical: the setup application must propagate before stage 2.
4
Enable SSO application
Click Enable in stage 2. Protect automatically creates the actual SSO Enterprise Application in your tenant. No manual SAML/OIDC configuration needed.
5
Auto-enable for matching users
Existing Protect users whose
mail attribute matches a user in Entra ID get SSO automatically. Matching is on the mail property, not the User Principal Name (UPN) — verify your users have mail populated.User management with SSO
User access lives in Protect, not Entra ID:- Add users at Settings → Users and tick Enable SSO
- Removing a user (or disabling SSO on them) automatically removes them from the Entra ID application
- Break-glass accounts (without SSO) are still supported
Auto-provisioning mode
For organisations preferring group-based access from Entra ID:- Contact Protect support to enable auto-provisioning
- Assign users or groups to the ThreatAware Enterprise Application in Entra ID
- Users are auto-created in Protect with the Limited Viewer role
- An admin must upgrade roles in Protect afterwards
Okta
Okta SSO is supported but requires manual setup by Protect engineering. Contact support with your Okta tenant details to begin.Tags drive data-level access
Tags are the primary lever for scoping what a user sees. A user’s data filter is almost always a tag clause —tags:Client-Acme, tags:End-User, tags:EMEA — that intersects with every grid (Devices, Issues, User Inventory, Software, even Reporting data sources) for that user.
Because tag membership is rule-driven (see Tags & Logic Engine), access control follows the business rules automatically: a new device entering the Acme tag pool immediately becomes visible to the MSP-Tech-Acme role, with no manual permission edit.
The Coverage Explorer at Settings → Tags is the right place to verify tag membership before assigning data filters — confirm the population matches who should see it.
Data-level permissions
Even within a role, you can scope what an individual user sees:- By tag
- By location
- By device class (tag-based)
- Combined
Field-level hiding
Some fields can be hidden from specific roles independently of row-level filtering:Hide user PII from contractors
Hide user PII from contractors
Hide
lastUser.email, lastUser.department, metadata.serial_number from a Contractor role.Hide vulnerability data from help-desk
Hide vulnerability data from help-desk
Hide
system.qualys.*, system.tenable.* from a Help Desk role.Hide asset identifiers from auditors
Hide asset identifiers from auditors
Hide
metadata.serial_number, macAddress from an External Auditor role.API access
The Protect API uses API keys managed at Settings → API Access. Keys are sent in theX-ThreatAware-ApiKey request header. Tokens:
- Have a name and a fixed expiration of 1 day / 1 week / 1 month / Never (no custom-date option)
- Are shown once at creation — copy and store securely
- Inherit the permissions of the user that created them
- Hover the row to reveal Disable key (suspends without deleting) or Delete key (terminal, after a Confirm dialog)
Audit Log
Every meaningful action is logged at Settings → Audit Log:Filtering the audit log
The audit log has a plain-text search box at the top of the grid (it is not the field-based query language used on Devices / Issues / Users). For more structured filtering, export and filter externally — or use the API. See Settings → Audit Log for column-level details.SIEM integration
For SIEM ingest, the recommended path is to pull from the API. Webhook and scheduled-export options may also be available depending on tenant configuration — confirm with your account team.Session management
Multiple concurrent sessions are allowed. For Entra ID SSO tenants, conditional access policies on the Microsoft side (including device-trust, location, and risk-based controls, plus session-lifetime caps) apply on top of any Protect-side timeouts.MFA enforcement
Protect does not surface tenant-side MFA enforcement controls in the current product. MFA is delegated to the upstream identity provider:- Entra ID / Azure AD SSO — enforce MFA in your Entra ID Conditional Access policies. Protect honours whatever Entra returns.
- Okta SSO — enforce MFA in your Okta sign-on policy.
- Password sign-in (non-SSO tenants) — the Roles permission tree was inspected and contains no MFA-related permission, idle timeout, IP restriction, or device-trust toggle. Use Entra/Okta SSO as the recommended MFA path.
Best practices
Start with least privilege
Start with least privilege
Default new users to Limited Viewer or a tight custom role. Upgrade explicitly when need is demonstrated.
Quarterly access reviews
Quarterly access reviews
Review Settings → Users for the “Never logged in” / “Last logged in N days ago” badges and deactivate dormant accounts.
Service accounts for automation
Service accounts for automation
Don’t use a person’s API token for production automation. Create a dedicated service-account user with a narrow role and a long-lived API token, and document the owner.
Audit-log critical changes
Audit-log critical changes
Set up an Action that emails security leadership whenever the audit log shows role creation, integration disconnect, or large export.
Document the role matrix
Document the role matrix
Maintain a simple table: role × permission × who-it’s-for. Review annually.
Cross-references
Settings → Users
User list and SSO state
Settings → Roles
Default + custom roles
Settings → Teams
Collaboration groups
Settings → API Access
Token management
Settings → Audit Log
Activity history
Reference → Role permissions
Full permission matrix